
Winterizing Your Motorcycle: Help Your Bike Make It Through Winter
Check tire pressure, fill or drain the tank, proper bike maintenance – tips to help protect your motorcycle from cold, frost, and moisture this winter.
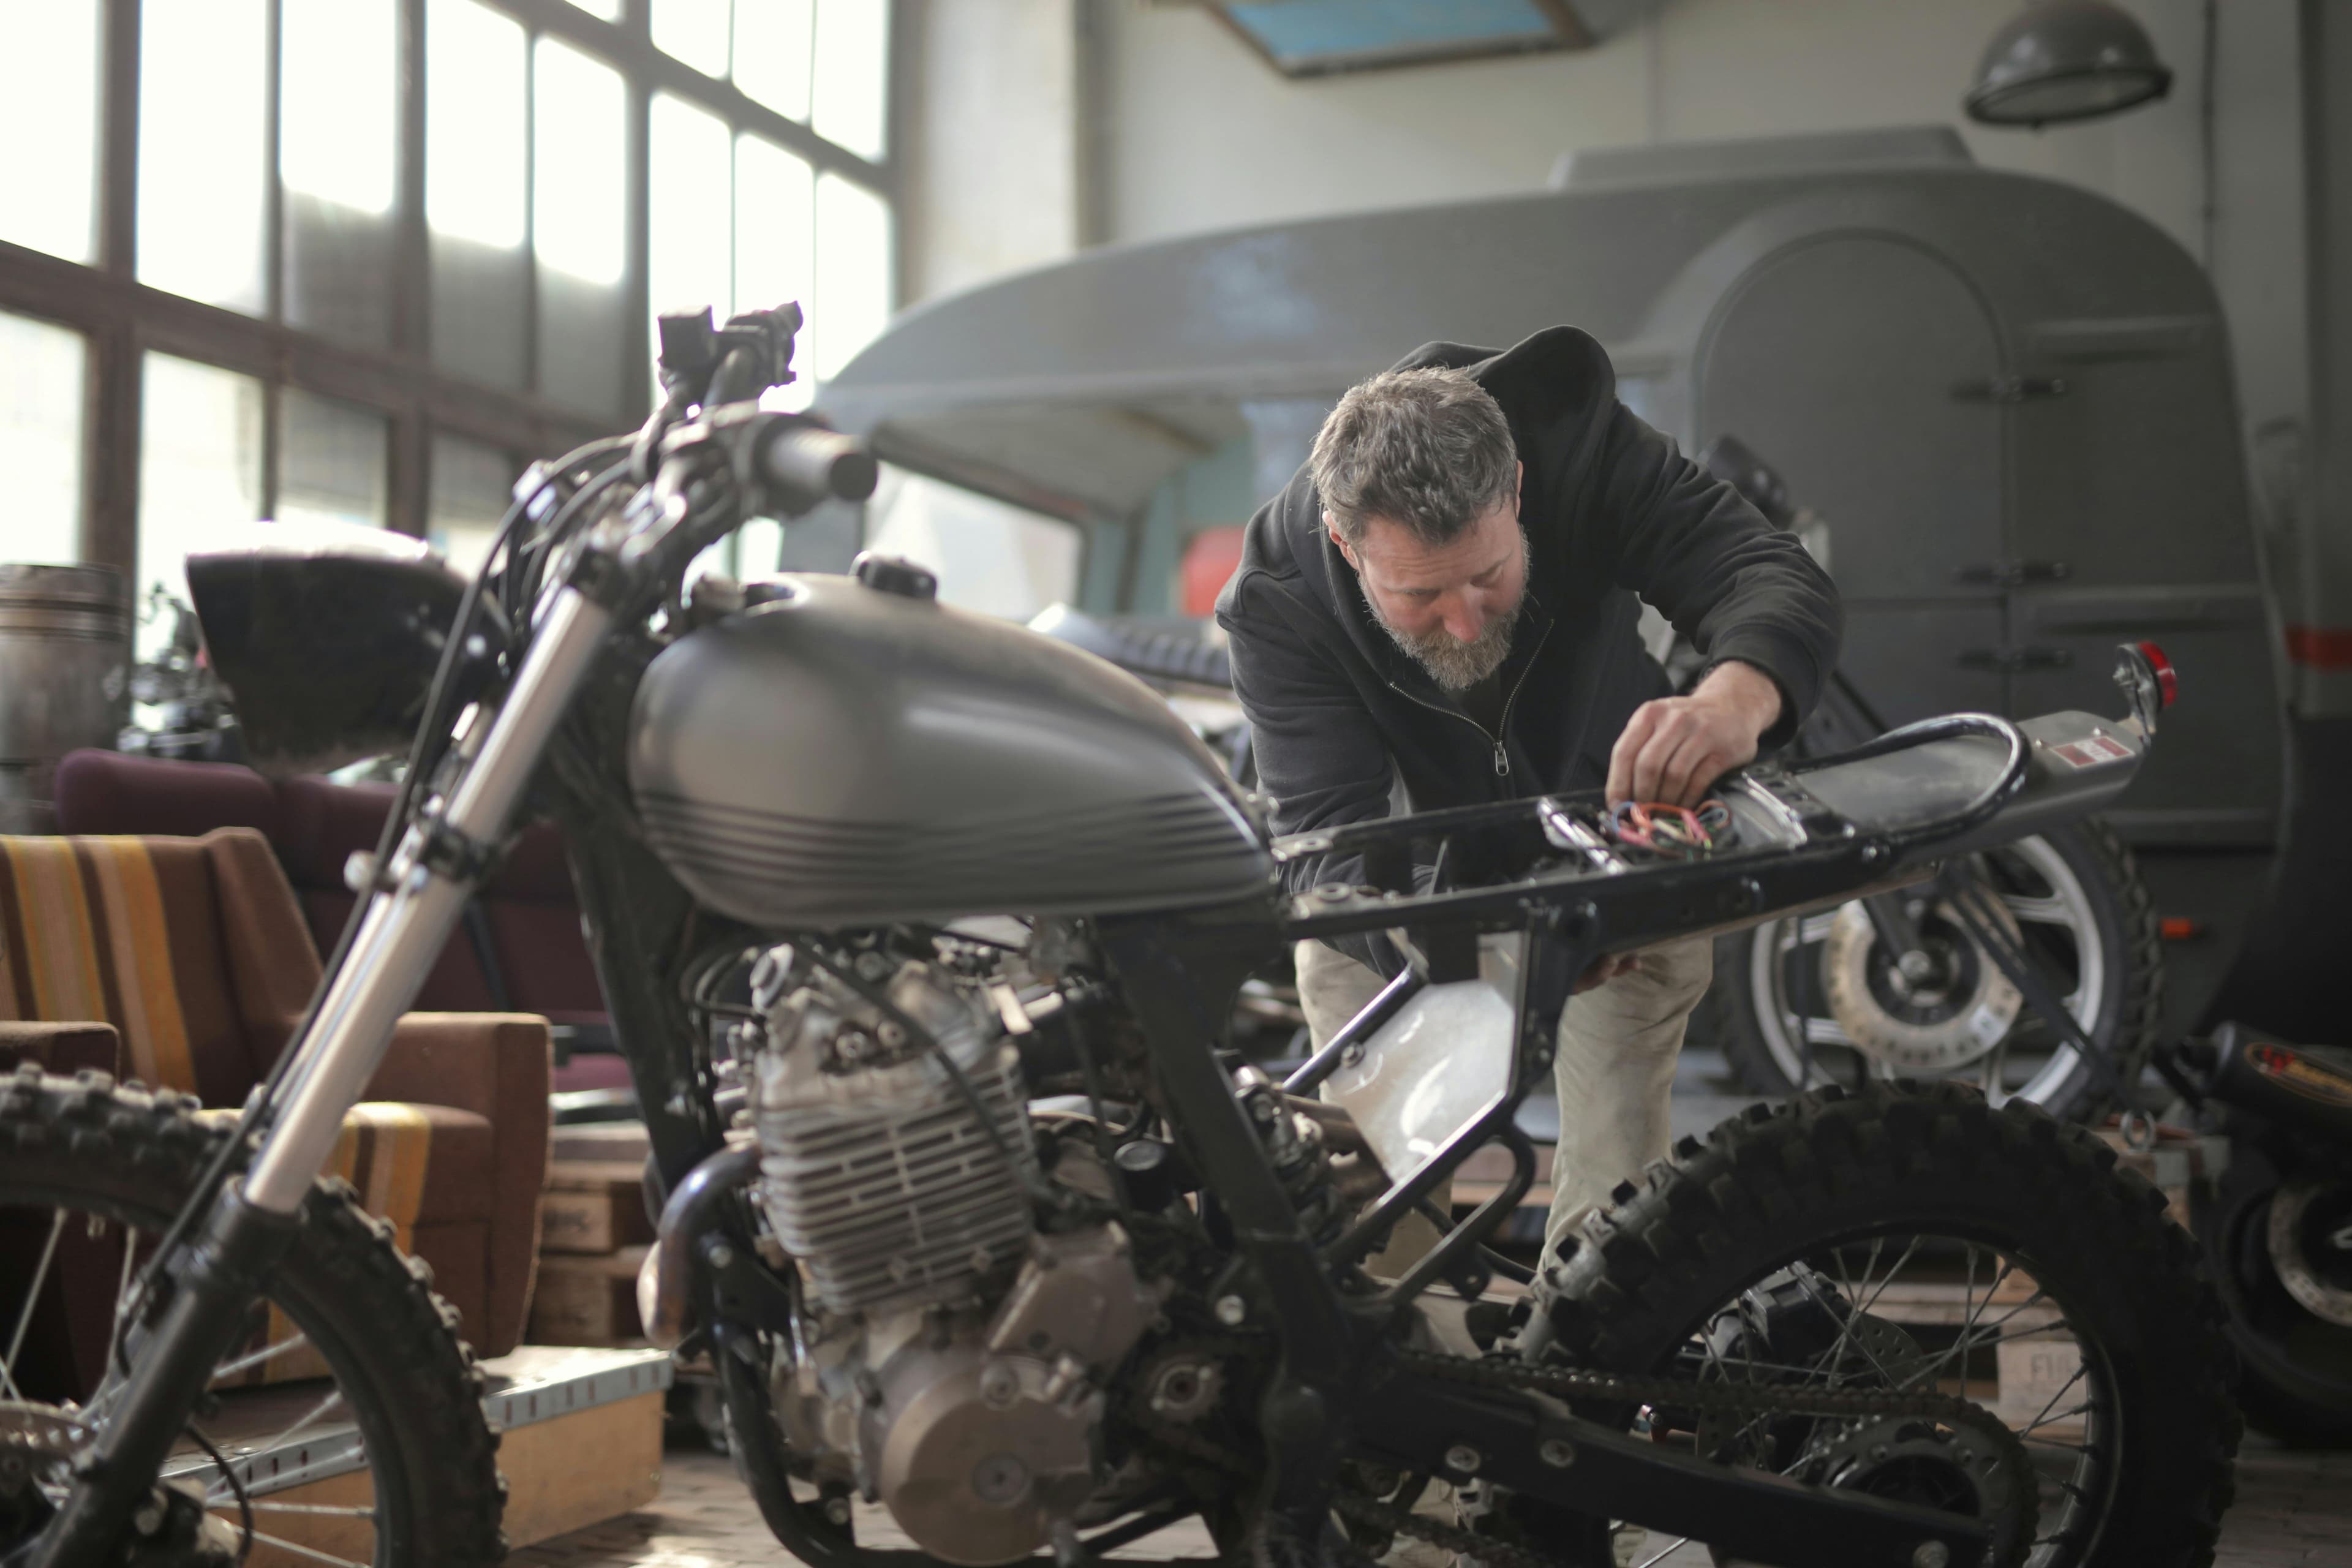
Winterizing Your Motorcycle: The Winter Storage Checklist
The last ride is done and temperatures are dropping. It’s time to get your motorcycle ready for winter. Proper winter storage helps prevent flat spots, a dead battery, and a gummed-up carburetor, so when spring arrives, you can simply turn the key and get back on the road.
This guide takes you through winterizing your motorcycle in three phases: clean and protect, prepare the mechanical components and fluids, store it properly. You’ll also get a checklist to work through, one often-overlooked item (your gear), and finally the best part: how to make the most of the winter break.
Checklist: Getting Your Motorcycle Ready for Winter
Use this checklist as you go. You’ll find more details on each step below.
Clean and Protect
- Wash your motorcycle thoroughly and let it dry completely
- Clean and lubricate the chain, and check the sprockets
- Protect exposed metal parts against corrosion
Mechanical Components and Fluids
- Check wear parts: brakes, cables, bolts
- Change the engine oil and oil filter
- Check the coolant’s antifreeze protection (must protect down to −13 °F)
- Depending on the tank material, either fill the tank or empty it
- Run the carburetor dry (carbureted motorcycles only)
- Remove the battery and connect it to a trickle charger
Storage
- Increase tire pressure by 7–15 psi
- Lift the motorcycle off the ground or place it on paddock stands
- Cover it with a breathable cover, not airtight plastic sheeting
- Store it in a dry, well-ventilated place
Often Overlooked
- Store your helmet, riding suit, gloves, and boots properly
- Check your insurance: seasonal policy or storage coverage
When Should You Winterize Your Motorcycle?
There’s no fixed date on the calendar. Instead, watch for two key signs: when road surface temperatures consistently drop below around 45 °F, your tires provide less grip. And once road salt is being used, the risk of corrosion on your motorcycle’s metal parts increases.
In most of Central Europe, that usually means early to mid-November. If you’ve worked through the checklist by then, you won’t have to work on your bike in a freezing garage.
Phase 1: Clean and Protect
1. Wash Your Motorcycle Thoroughly
Dirt, bug residue, and especially road salt can attack paint and metal throughout the winter. Wash your bike with a mild cleaner and a soft sponge.
Keep the pressure washer away from wheel bearings, the chain area, electrical components, and instruments. High pressure can force water into bearings and electrical connectors, exactly where it doesn’t belong.
Drying is the most important step. Put a motorcycle away while it’s still damp and it’ll quietly rust under the cover. Dry it thoroughly, then let the engine run for a few minutes so any remaining moisture in the exhaust and crevices can evaporate.
2. Clean and Lube the Chain
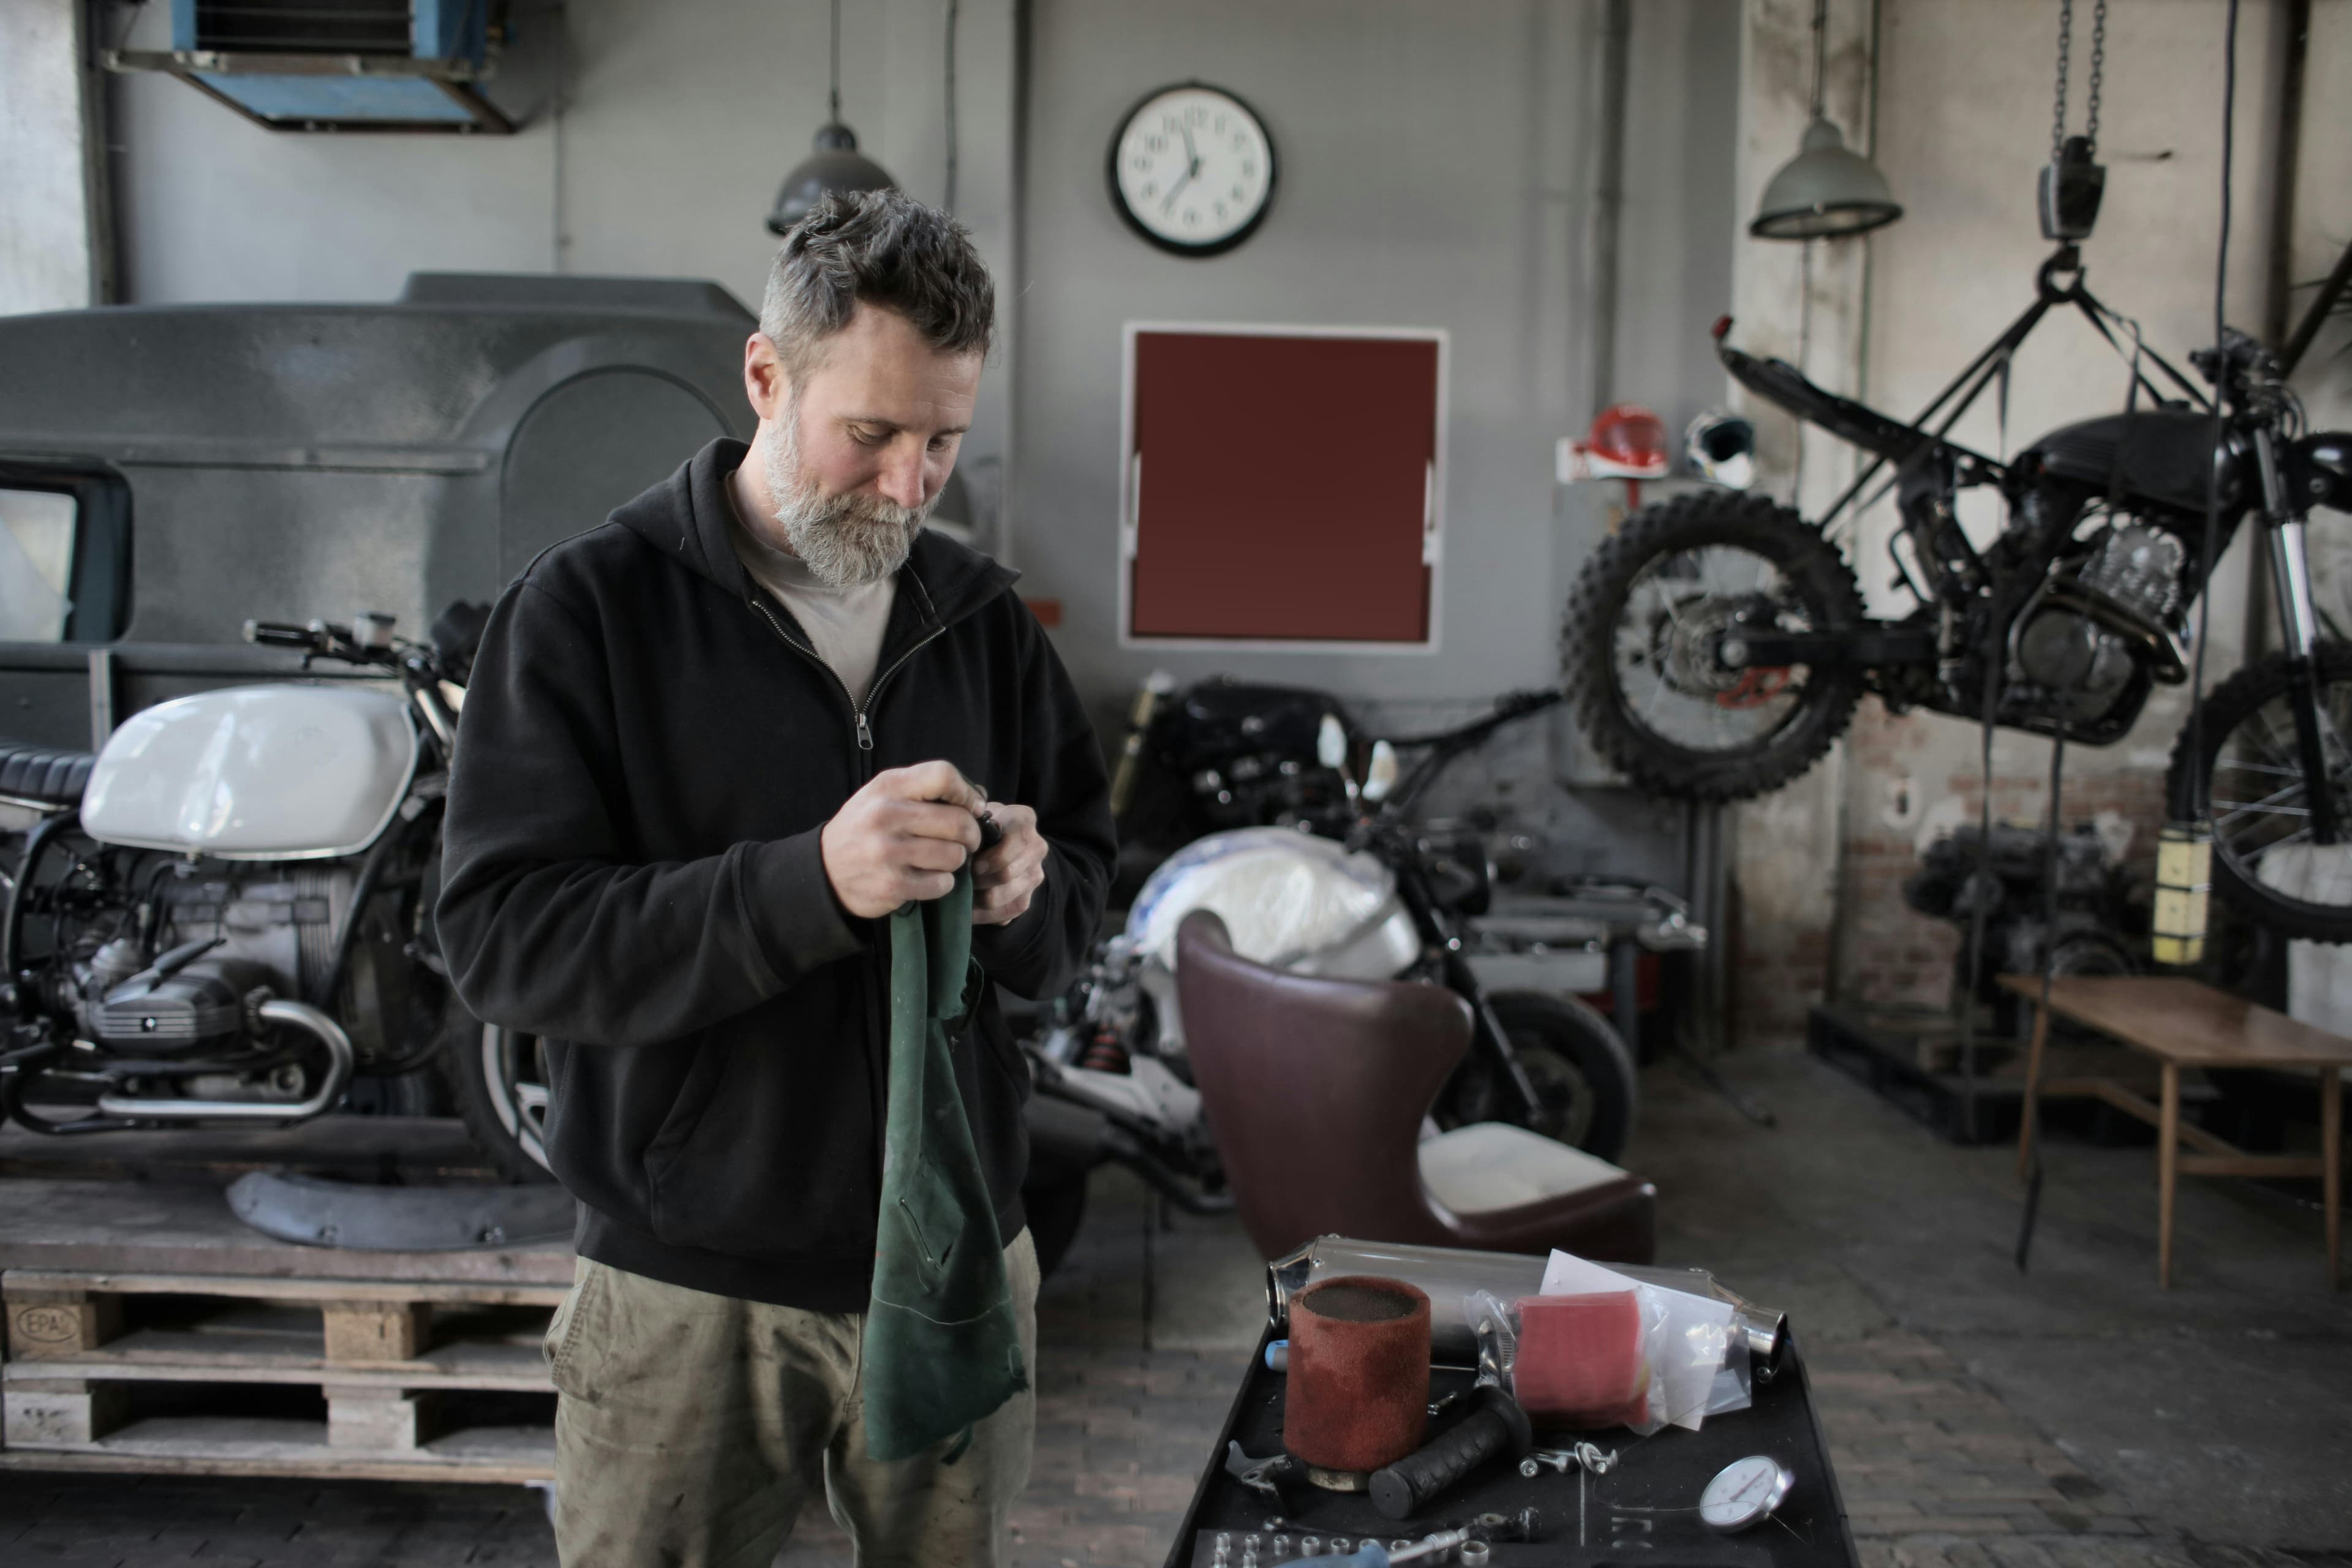
The chain gets its own step because it takes a beating over winter. Old chain lube traps dirt and salt, keeping both in contact with the metal for months.
Clean the chain with chain cleaner and a brush, dry it, then apply a generous fresh coat of chain lube. A thick protective layer is ideal for winter storage, even if it would be too much for regular riding. While you’re at it, check the front and rear sprockets. Hook-shaped teeth mean you’ll need a new chain and sprocket set in spring. Better to know now than find out on the first sunny day.
3. Protect Rust-Prone Parts
Bare metal surfaces, bolts, and welds need a protective coating. Apply corrosion protection evenly and wipe off any excess.
Important: Keep brake discs and pads completely free of oil and spray grease. Anything that gets on them will ruin your braking performance.
Phase 2: Mechanical Components and Fluids
4. Check and Service Wear Items
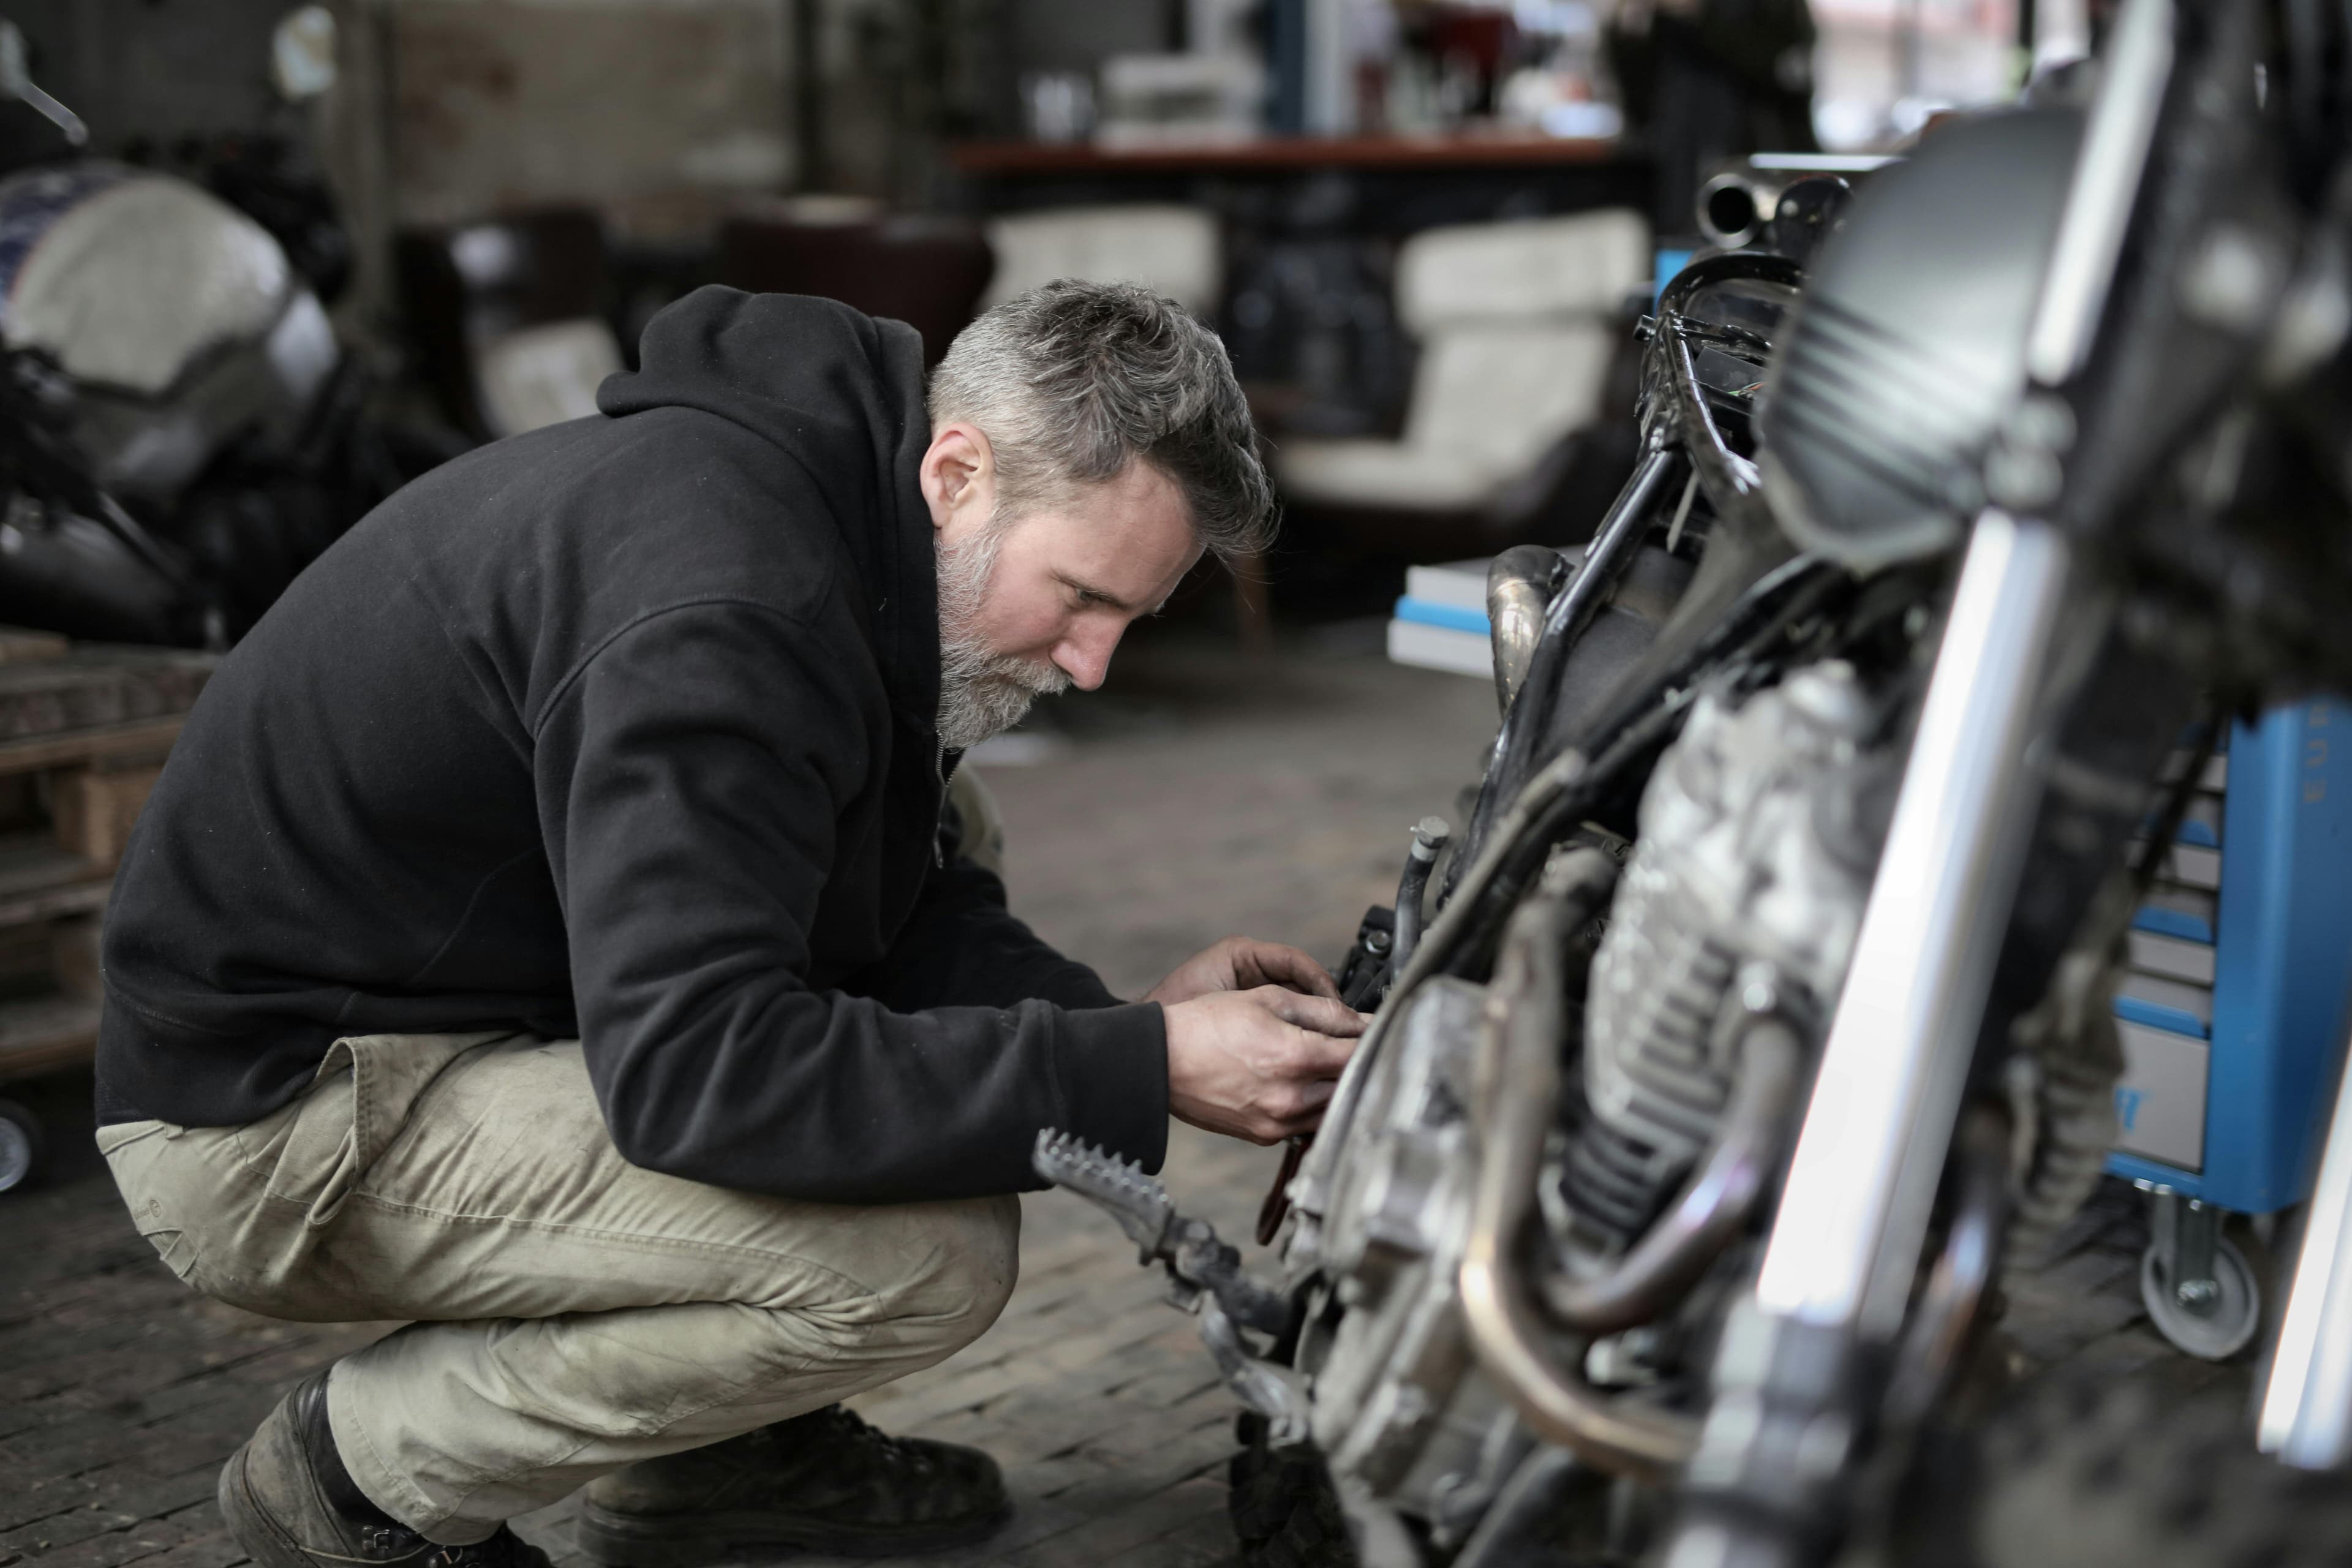
Give your bike a thorough once-over: check the brake pads and brake fluid, cables, and tire tread, tighten any loose fasteners, and lubricate moving parts.
Winter is the perfect time for this. Anything you spot now can be ordered and replaced without rushing, instead of waiting for parts when riding season starts.
5. Change Engine Oil and Oil Filter
Used oil contains combustion residue and acidic compounds that can damage internal engine surfaces when left sitting for months. That’s why you should change the oil and filter before winter storage, not after.
Use the oil specification approved by the manufacturer and let the engine run briefly after the change so the fresh oil can circulate everywhere.
6. Check the Coolant
The coolant needs to provide freeze protection down to −13 °F. Check the freezing point with an antifreeze tester. You can’t tell the concentration just by looking at the color.
If the coolant doesn’t provide enough freeze protection, replace it. Freezing coolant expands and can crack the engine block or radiator. It’s one of the most expensive winter storage problems you can easily prevent.
7. Fuel Tank: Fill It or Drain It?
That depends on the tank material:
- Metal tank: Fill it to the brim. Less air in the tank means less condensation and helps prevent rust from forming inside. Use fresh fuel and add a fuel stabilizer.
- Plastic tank: Empty it completely. Plastic doesn’t rust, but aging fuel can leave deposits in the carburetor and fuel injection system.
8. Run the Carburetor Dry
This only applies if your motorcycle has a carburetor: close the fuel valve and let the engine run until it shuts off on its own. This empties the float bowls so no fuel is left behind to gum up over winter and clog the jets in spring.
Fuel-injected bikes don’t need this step.
9. Remove and Care for the Battery
Cold temperatures reduce battery capacity, and a deeply discharged battery is often permanently damaged. Remove it, store it somewhere cool and frost-free, and connect it to a trickle charger.
A modern charger with a maintenance mode can also stay connected while the battery is installed, so there’s no need to remove it. What you shouldn’t do is simply leave the battery connected without a charger. The bike’s electronics draw power even when it’s parked.
Phase 3: Proper Storage
10. Take the Weight Off the Tires and Increase Tire Pressure
If a motorcycle sits in the same position for months, the tires can develop permanent flat spots. There are two ways to help prevent this, and ideally you should do both:
- Lift the motorcycle or place it on paddock stands to take the weight off the tires.
- Increase tire pressure by 7 to 15 psi to compensate for gradual pressure loss over winter.
Don’t forget to reset the pressure to the recommended value in spring.
11. Cover It: Breathable, Not Airtight
A cover protects against dust, moisture, and UV light. The key is that it’s breathable. Condensation can build up under an airtight cover, trapping the very moisture you’re trying to avoid.
12. The Right Storage Spot: Indoors or Outdoors?
Indoors is always better: a dry, well-ventilated garage, shed, or carport. An unheated space with a consistently cool temperature is ideal. Temperature fluctuations in heated spaces can cause condensation to form on cold metal parts.
No garage of your own? Renting a spot in a shared garage usually costs less over the winter than a new set of tires.
Outdoor storage works too, as long as you follow a few rules:
- Choose a sheltered spot, not under trees. Leaves trap moisture, while falling branches and tree sap can damage your bike.
- Park on level, solid ground.
- Place a tarp or mat under the motorcycle to protect it from ground moisture.
- Secure the cover so it can’t come loose in strong winds.
- Apply extra corrosion protection to metal parts.
Your Gear Needs a Winter Break Too
The step almost everyone forgets, and one that can ruin gear worth as much as a new set of tires:
- Helmet: Remove and wash the inner lining, and clean the visor with water. Store the helmet open in a dry place, never in a closed trunk or gear bag.
- Leather suit: Clean it, let it dry thoroughly, and apply a suitable leather conditioner. Hang it on a wide hanger instead of folding it, as creases in leather can become permanent.
- Textile gear: Wash according to the manufacturer’s instructions and reapply the water-repellent treatment. Remove the protectors first.
- Gloves and boots: Let them dry completely and lightly stuff them before storing to help them keep their shape.
Store everything in a dry, dark place, away from damp basements and direct sunlight.
Insurance: Seasonal Policy or Storage Coverage
If your motorcycle is going to sit for months anyway, you don’t have to keep it fully insured the whole time:
- Seasonal policy: Some insurers let you insure your motorcycle only for the months you actually ride. Outside that period, it can’t be ridden on public roads.
- Storage coverage: While your bike is laid up, many insurers let you reduce your policy to cover only fire, theft, and damage while it’s stored.
Both options come with conditions that vary by provider and country. Check directly with your insurer to find out what applies and which option makes sense for your motorcycle.
Make the Most of Winter: Start Planning Your Season Now
Your bike is safely stored. Now it’s time for the best part of winter.
The season doesn’t start with the first warm day. It starts with one question: “Where to?” Figure that out from the couch in February, and come March, you’ll be riding the route you really wanted instead of falling back on the same familiar roads.
- Search for winding roads, not just destinations. With the calimoto Trip Planner, you can plan rides along winding roads and scenic routes instead of simply taking the fastest way there.
- Plan your first ride of the season. Build your route, save it offline, and you’re ready to go. When the first sunny day arrives, all that’s left to do is ride.
- Plan that big trip. An Alpine tour or a week in the Dolomites is much easier to plan over the winter than the week before you leave.
- Get inspired. Check out the motorcycle rides other riders have taken in your area.
And in spring, simply work through this list in reverse: reinstall the battery, reset the tire pressure, check the fluids and brakes, and take a test ride. Your first planned ride of the season will already be waiting on your phone.
Enjoy the winter break. See you in spring on the winding roads.