Importing and Exporting GPX Files with calimoto
Want to transfer your planned or completed routes from a navigation device like TomTom or Garmin to the calimoto app? We’ve got you covered. Here’s how to import and export GPX, KML, and ITN files.
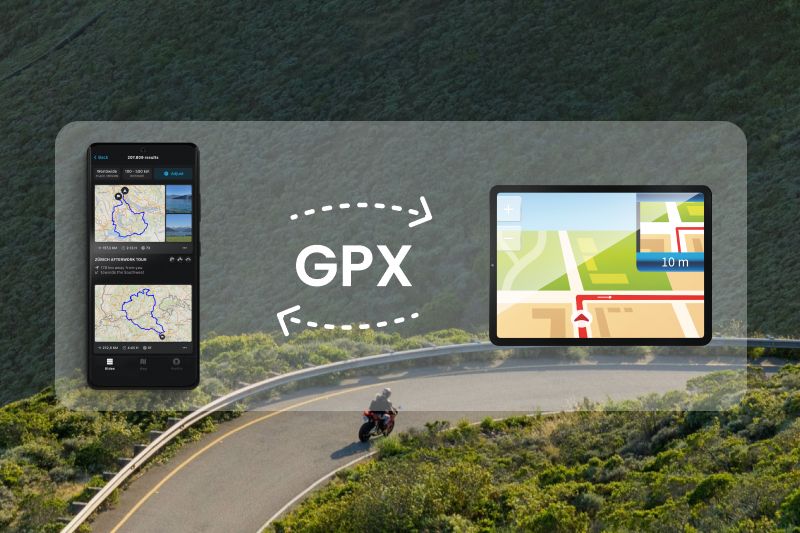
What exactly are GPX Files?
GPX files, short for GPS Exchange Format, are special file types used to store GPS (Global Positioning System) data such as routes, waypoints, and tracks. They facilitate the cross-platform exchange of GPS data, making it possible for various devices and software applications to read and process the information. With calimoto’s updated GPX feature, importing and exporting GPX files has never been simpler.
How to Import GPX Files: Step-by-Step Guide
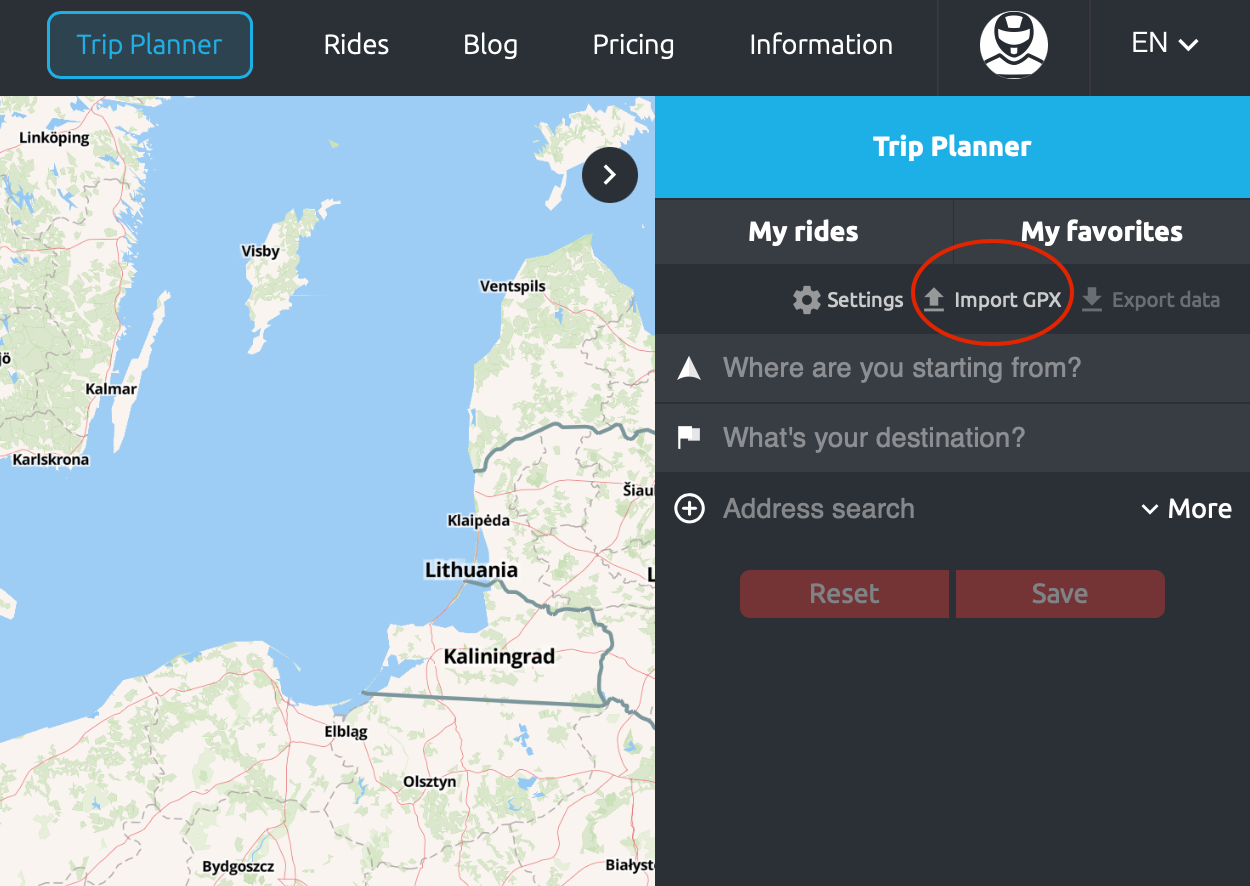
On the Website:
- Open the “Trip Planner” (don’t forget to log in).
- Click on the “GPX Import” button located in the toolbar to the right.
- Choose whether to import the files as “Planned Rides” or “Completed Rides.”
- Import up to 50 files at once via drag-and-drop or as a traditional upload.
- Click “Import now.”
- Find your imported files in your rides list. You can continue planning, replan, or take off riding with calimoto straight away!
On Android:
- Open the “Rides” view.
- Tap on “Planned.”
- Tap the three-dot menu in the top right corner.
- Select the “Import GPX” button.
- Choose the saved file to import the ride.
On iOS:
- Download and open the GPX file you would like to work with.
- Select calimoto as the app to open the file.
- The file will open as a ride on the map.
Note: You can only import multiple files at once and distinguish between "planned rides" and "completed rides" on the web Trip Planner. These will then be marked in blue on the map like the rest of your calimoto rides.
Exporting GPX Files from TomTom, Garmin, or Beeline to a Memory Card
- Open the main menu on your navigation device and go to My Routes /Tracks.
- Click on Share or Export Track and select the tracks you want.
- Choose Export to Memory Card and click Save.
- Wait for the download to complete and remove the memory card.
- Insert the memory card into your laptop to import and save the files with calimoto.
You can find a step-by-step guide on how to export GPX files with calimoto here.
Good to Know
Every company uses its own algorithms, which can cause routes to look different across various platforms. Similarly, calimoto tours may appear differently on other navigation systems. However, switching from your original navigation device to calimoto can be done in just a few clicks. We can’t wait for you to start your first ride with us!
Having Trouble with GPX Import or Export?
Many providers and platforms do not adhere strictly to open standards, which can lead to technical issues. While calimoto follows the specified standards, files may sometimes be recognized as unreadable. If this happens, please reach out to the respective provider for assistance.
We hope these instructions and tips are helpful.
From now on, you can keep all your tours in one place – whether you’ve tracked them with calimoto or another navigation device.


